Whether you're just getting started or revisiting your profile later, this is your go-to guide for setting up and updating your personal information on LingoCulture.
Hold Up!! First Things First: Set Your Timezone! 🕒
Before you dive into this guide, we need to press pause. The actual first step to setting up your profile is making sure your timezone is accurate. It’s a small detail with a big impact, without it, your calendar might go rogue and confuse everyone (including you).
Once your timezone is set, come back and let’s get your profile polished and ready for booking!
Now: Setting Your Profile Up Before Booking
If you're new to the platform, your second step, before booking any classes, is to complete your profile. It might feel a bit tedious, but it’s essential for:
- Helping teachers prepare for your class
- Improving communication with staff
- Making invoice requests smoother
- Ensuring your calendar and timezone are accurate
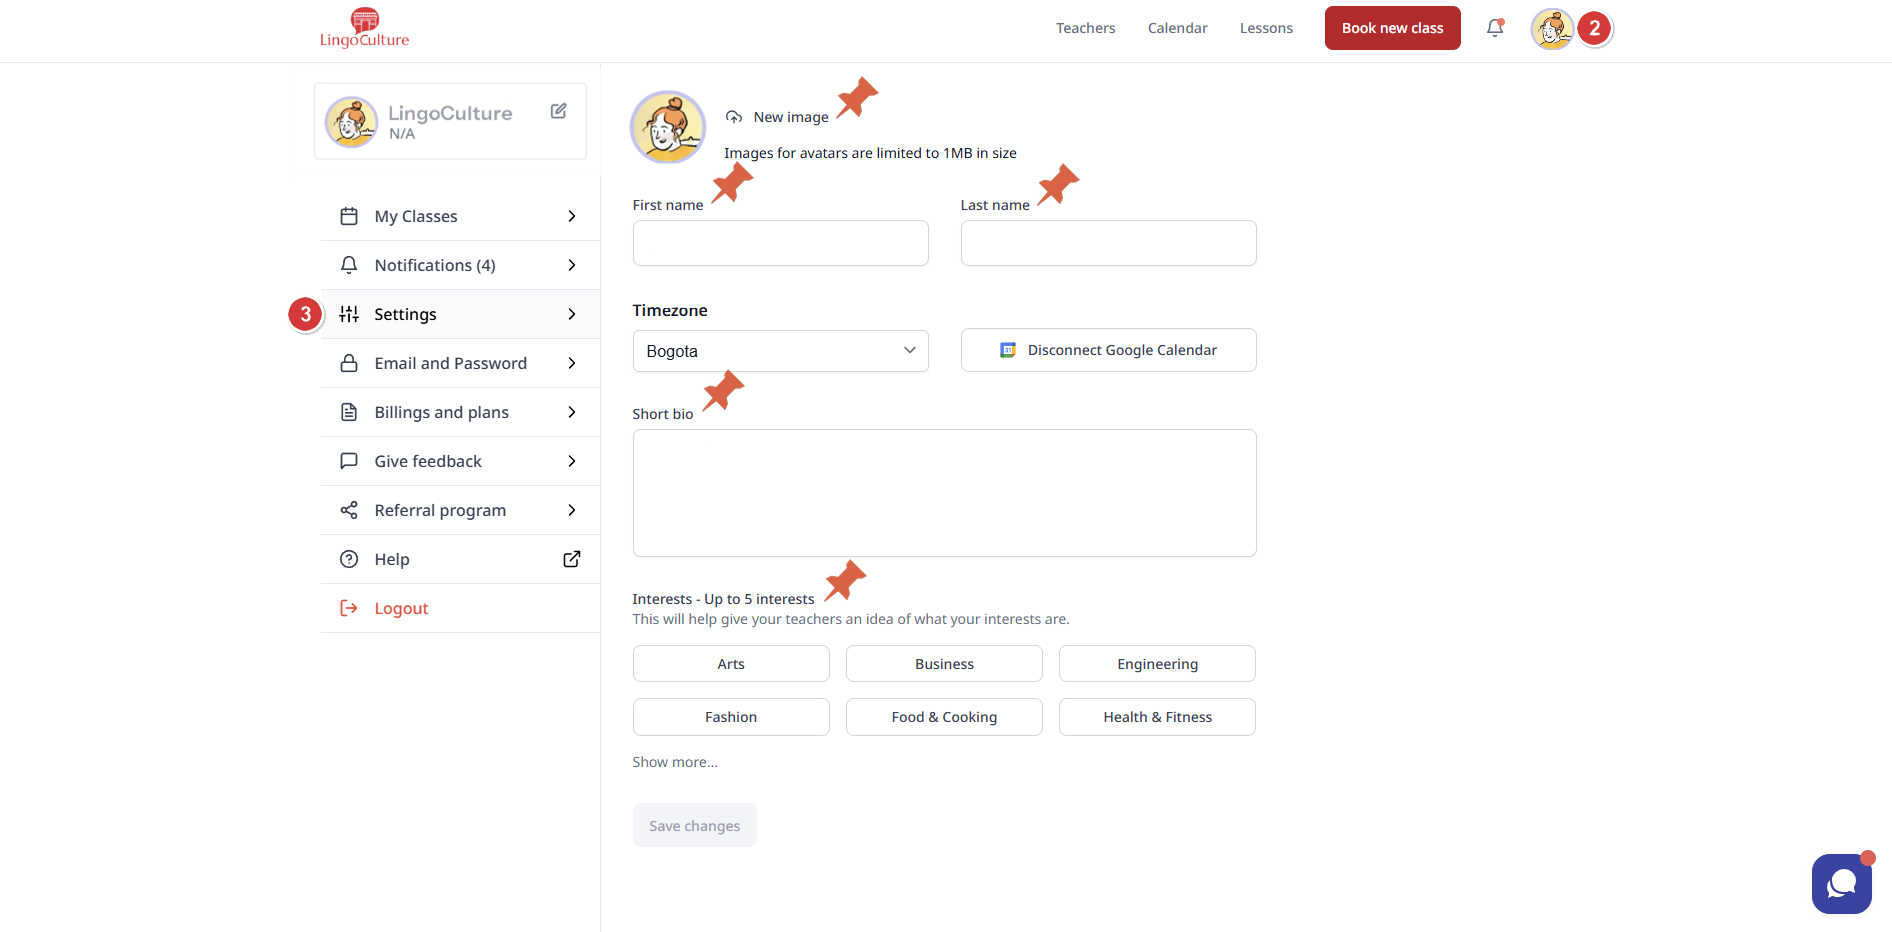
🧭 How to Access Your Profile Settings
- Log in to https://web.lingoculture.com.
- Click your profile picture in the top right corner.
- Go to the “Settings” section.
Here, you’ll find editable fields for:
- Profile picture
- First and last name (required for all students)
- Timezone (critical for accurate class scheduling)
- Google Calendar integration
- Short bio
- Interests
🧠 Why It Matters
Your profile is how teachers get to know you before class. For example:
- If you studied French a year ago, and you're picking it back up, add that to your bio!
- If you love cooking, travel, or fashion, select those interests!
- If you want your teacher to recognize you easily, upload a profile picture!
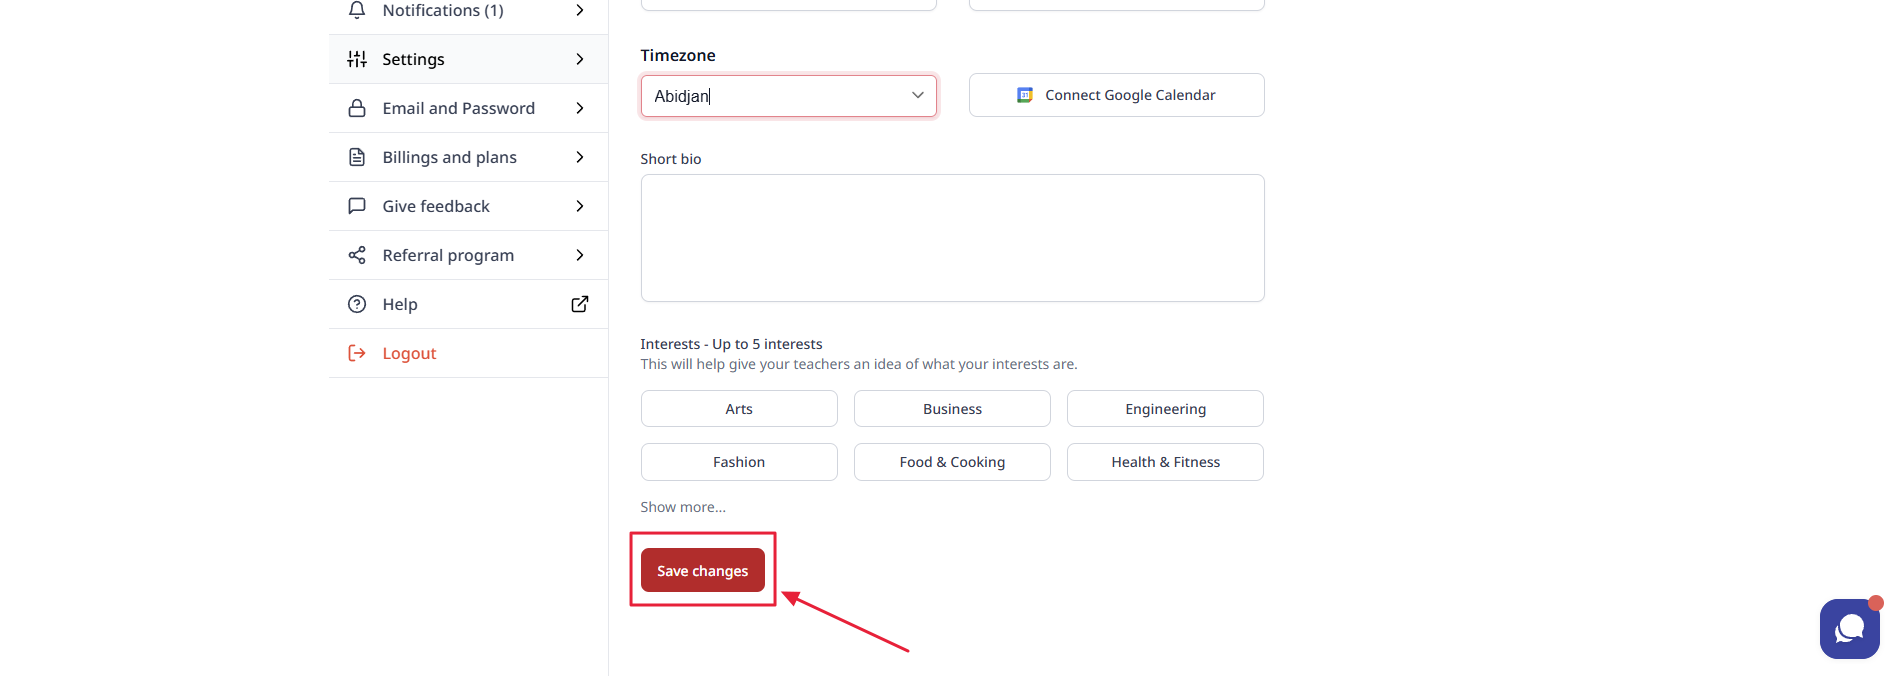
✅ Don’t Forget to Save!
After making changes, scroll to the bottom of the page and click “Save.” This step is easy to miss, but without it, your updates won’t be applied.
Your profile is your learning passport. Make it clear, make it yours, and keep it up to date.